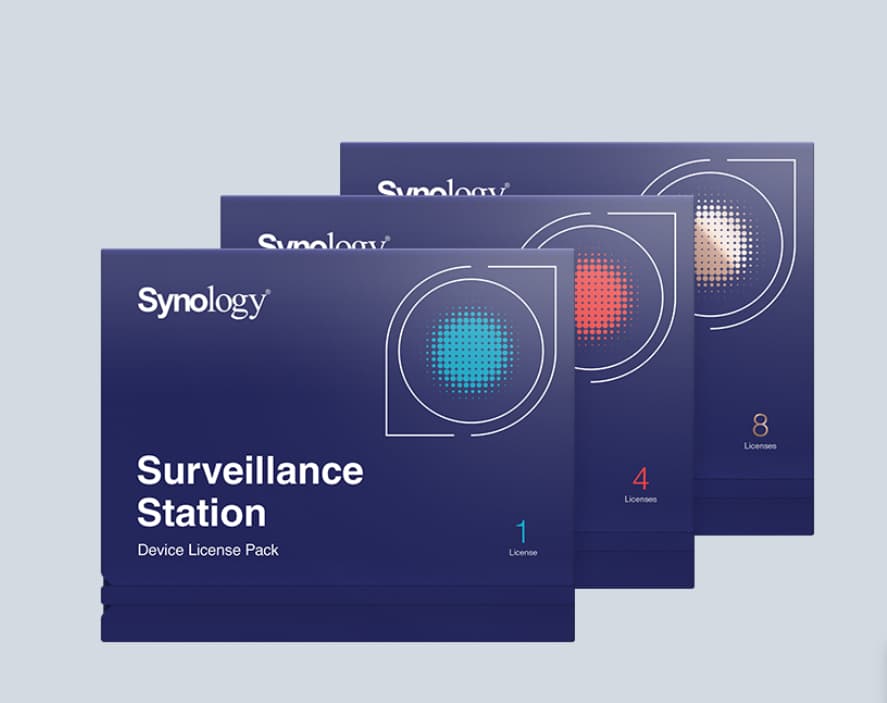
辦公室需要有新增三支攝影機,選擇了 Synology Surveillance Station 的服務,考量到儲存空間可靠度及統一操作介面的情形下就多購買了一隻攝影機的授權。
在網路商店購買 Surveillance Station 授權寄來時,外觀像裝光碟片的大小。
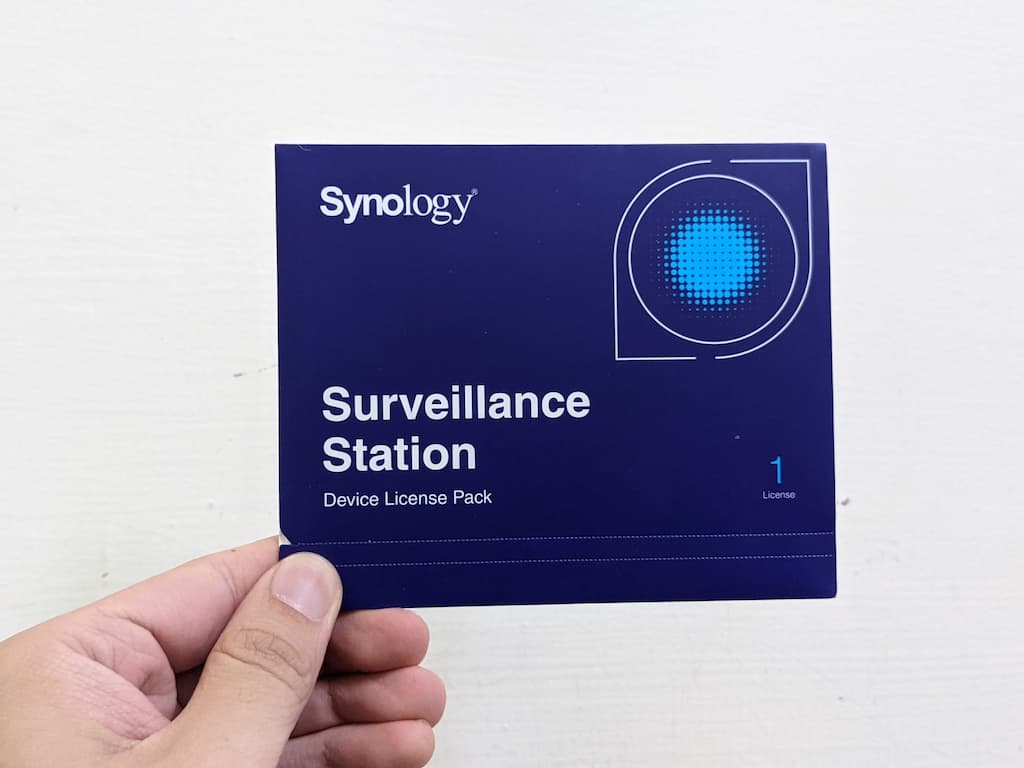
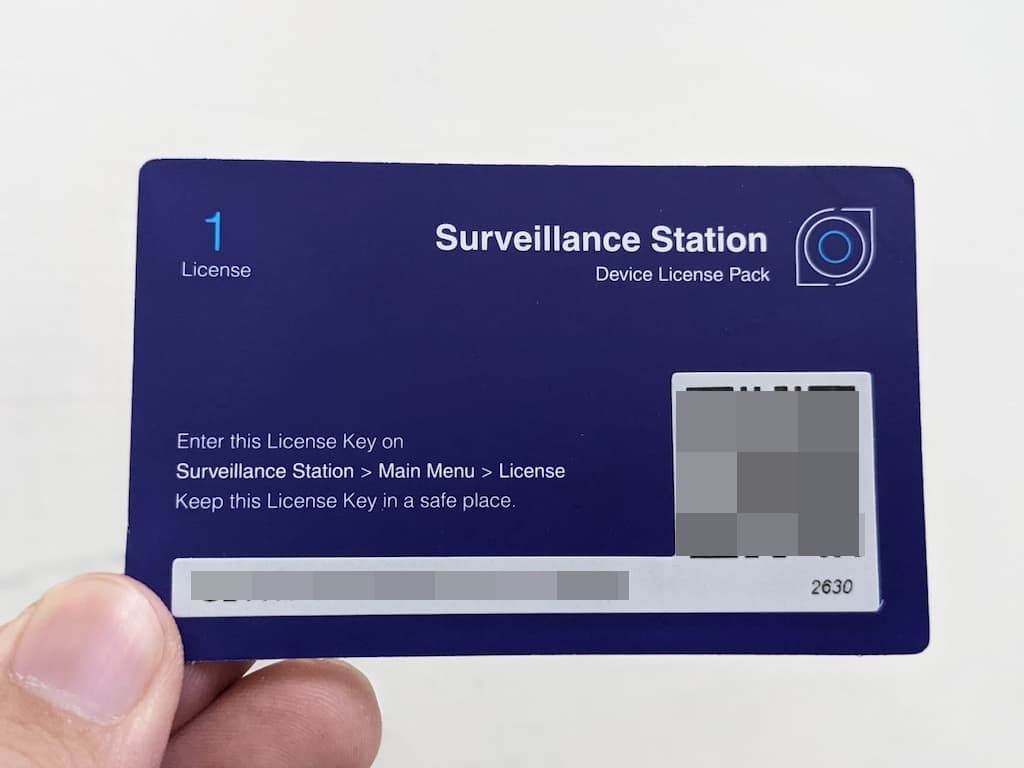
包裝有點難撕開可能切割痕跡不夠深,開啟包裝後內容是一張含有序號的卡片跟點數儲值卡差不多。
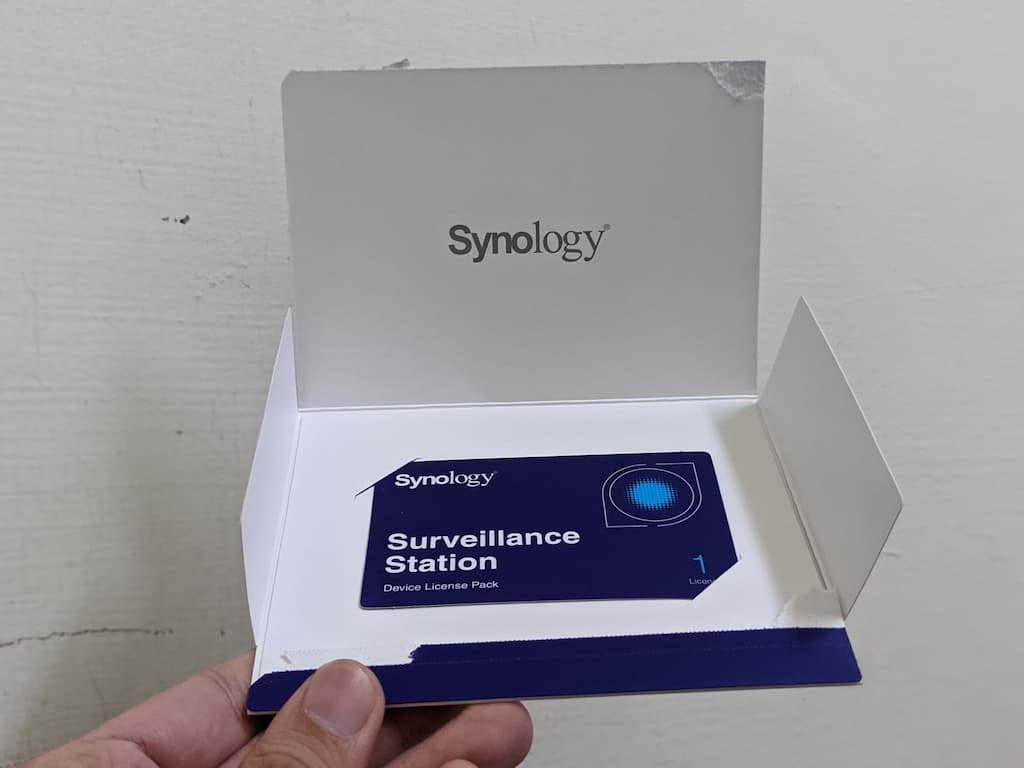
卡片背面左上角會寫授權數量,並在下方標示序號。
登入 NAS 開啟程式選單並點入 Surveillance Station 的程式中。
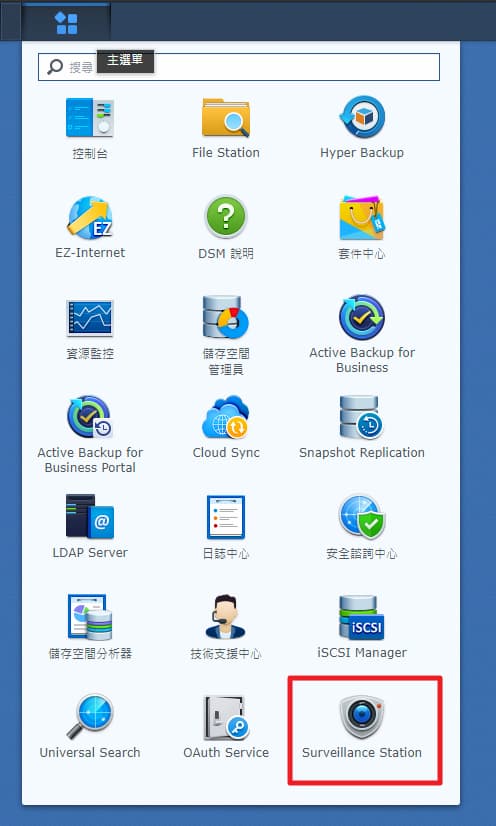
點選 Surveillance Station 會將程式以另外彈出新分頁方式開啟,點選左上角的程式選單。
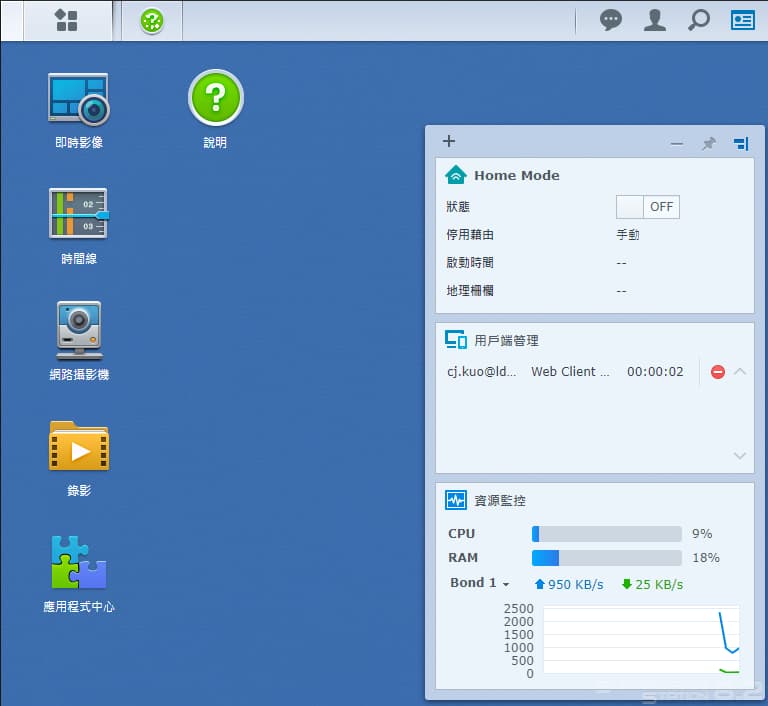
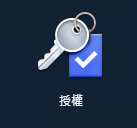
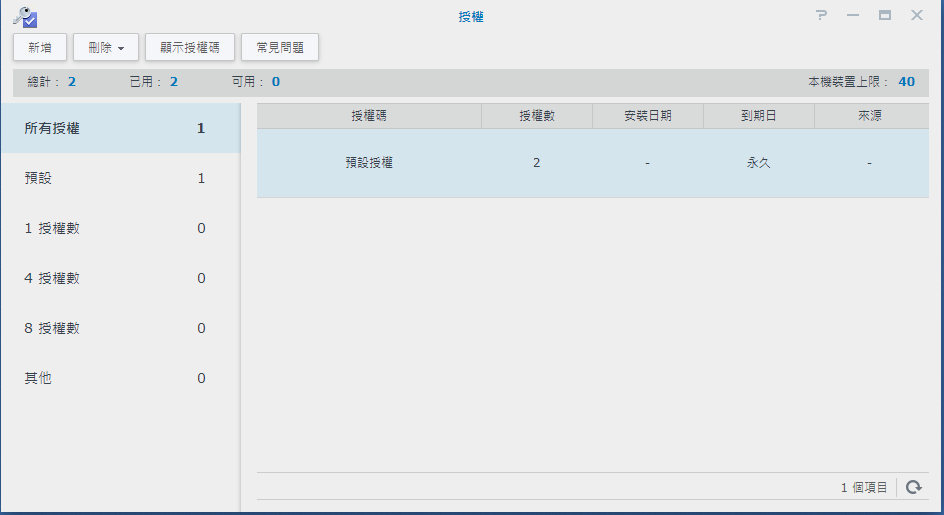
並點授權後會開啟授權清單。
小編的 NAS 中預設包含兩支攝影機授權,但需求為三支攝影機,固在左上角點選新增。
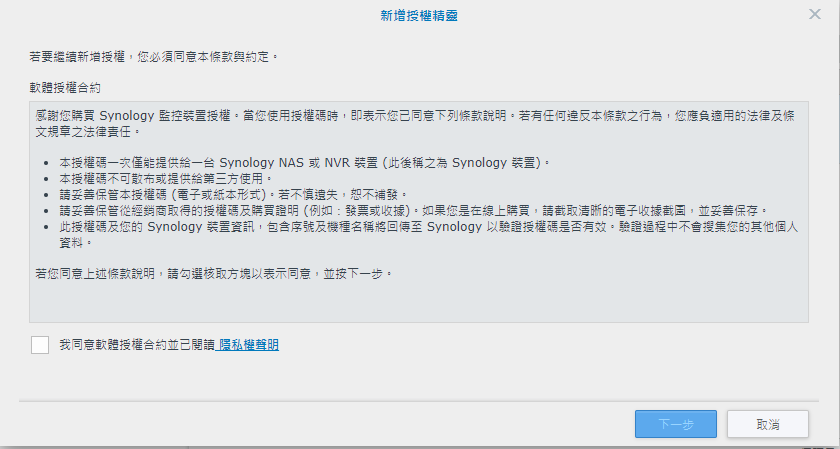
詢問是否同意授權條約,勾選並按下下一步。
注意:合約內註明未來要轉移授權,需保留授權碼(電子或紙本)及購買證明,記得好好保留不要用完就丟了。
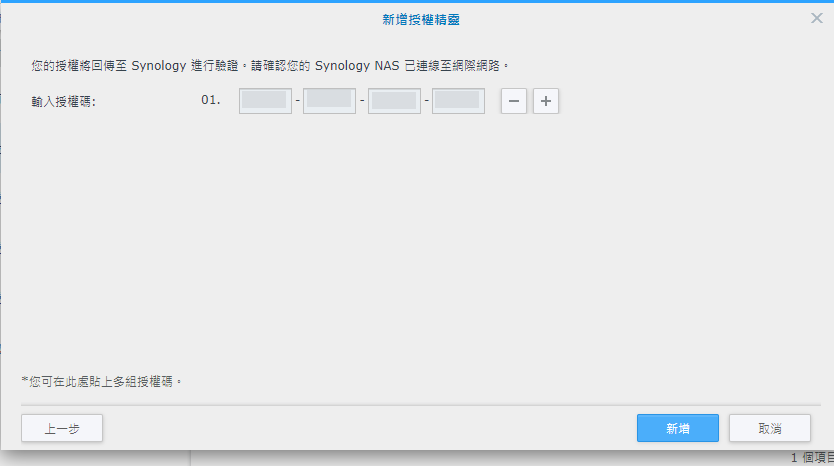
將序號填入空欄中有多組序號也可以一起填入,輸入序號完畢後按下新增。
系統驗證序號會連回 Synology 官方,要確定NAS可對外連線。
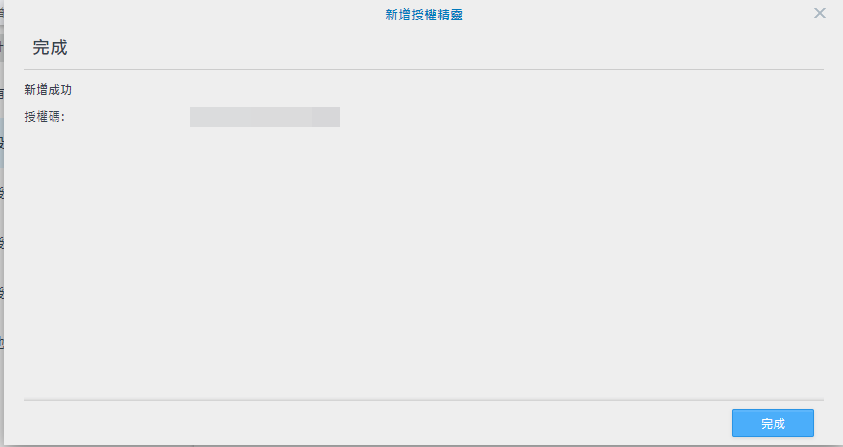
系統會顯示新增成功的授權碼有哪些,如下方畫面截圖
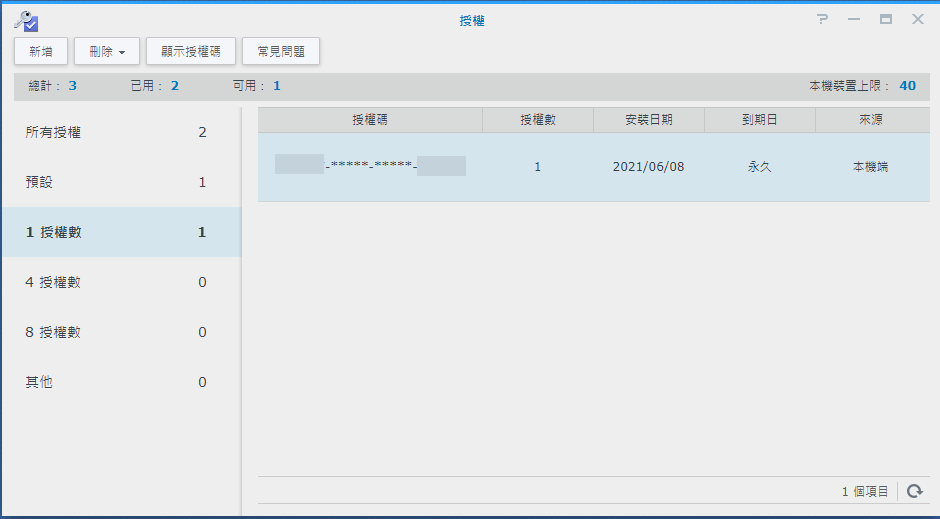
小編輸入的授權為單一攝影機授權,在系統上該序號會顯示在1授權數的分項中。
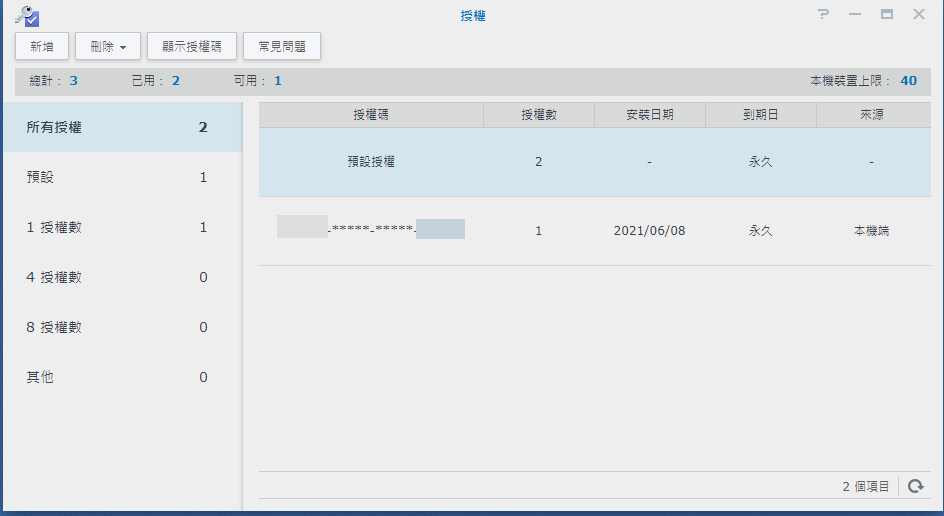
所有授權中可以看到有三組攝影機授權可以做使用。
Synology Surveillance Station 新增授權序號就完成了。